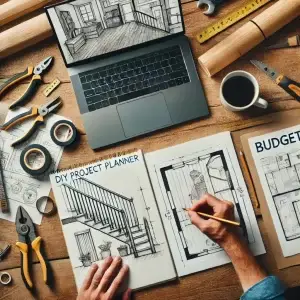
Taking on a DIY project can be exciting, but without proper planning, it can quickly turn into a chaotic mess. Whether you’re tackling a home renovation, crafting a custom furniture piece, or upgrading your backyard, having a solid strategy will save time, money, and frustration. Here’s a step-by-step guide to organizing your DIY project like a pro.
Step 1: Define Your Project Goals
Before diving into materials and tools, clarify your project goals:
- What do you want to accomplish?
- What’s your budget?
- What’s your timeline?
Setting clear objectives will help prevent mid-project confusion and unnecessary expenses.
Step 2: Research and Plan Thoroughly
A well-researched plan is key to a smooth DIY project. Look for tutorials, project guides, and inspiration from reputable sites like This Old House and Homey Improvements. Make a list of:
- Tools needed
- Materials required
- Step-by-step instructions
- Safety precautions
Step 3: Create a Detailed Budget
DIY projects can become costly if not budgeted properly. Break down costs into categories:
- Materials
- Tools (rent or buy?)
- Permits (if needed)
- Unexpected expenses (always add a 10-15% buffer)
Step 4: Gather Materials and Tools
Avoid last-minute store runs by gathering all materials in advance. Double-check:
- Measurements to ensure accuracy
- Quality of materials to avoid replacements
- Availability of essential tools
Step 5: Set Up an Organized Workspace
Having a clutter-free workspace improves efficiency. Organize by:
- Creating designated stations for cutting, assembling, and finishing
- Using storage bins for smaller items
- Keeping safety gear within reach
Step 6: Follow a Step-by-Step Approach
Break the project into manageable steps. Work in logical sequences to avoid rework and maintain efficiency. For example:
- For a DIY kitchen remodel, start with demolition, then flooring, cabinetry, and finally painting.
- For a backyard upgrade, begin with clearing space, then installing structures, and finishing with decor.
Step 7: Track Progress and Adjust as Needed
Stay on top of your project by:
- Keeping a checklist
- Taking progress photos
- Adjusting your plan if unexpected issues arise
Step 8: Clean Up and Finalize Details
Once the project is complete, ensure proper clean-up and finishing touches:
- Dispose of waste responsibly
- Store tools properly for future use
- Conduct a final inspection to check for any last-minute adjustments
Wrapping Up
By following these steps, your DIY project will be more structured, efficient, and enjoyable. Whether you’re revamping your living room or building a backyard fire pit, proper planning is the key to success. Get started today and turn your DIY vision into reality!